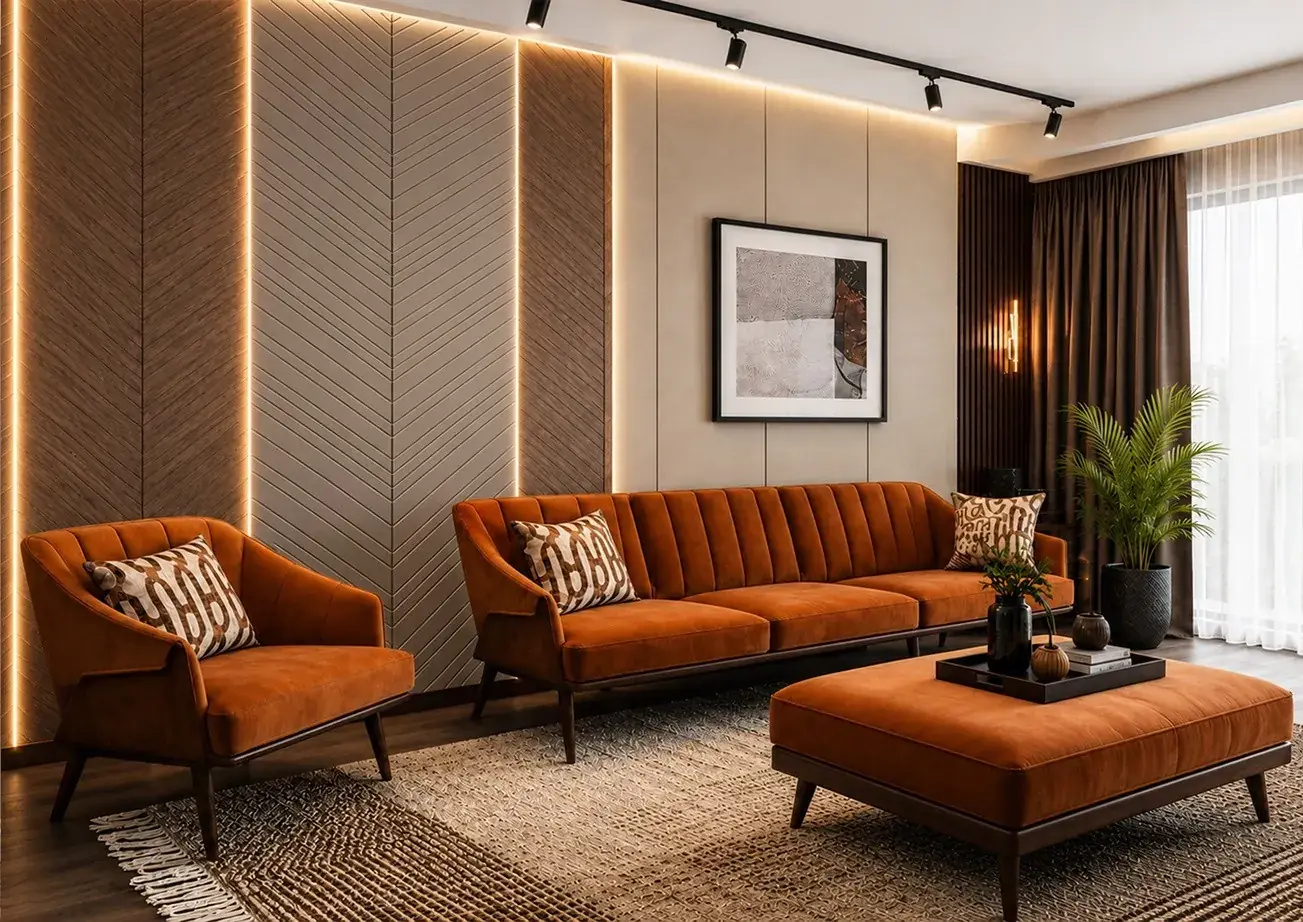
A CNC carved wall panel can make a living room, entrance, bedroom or prayer space feel more considered, but the best result begins with the wall conditions—not only the pattern. Before selecting a design, decide the wall size, lighting direction, moisture exposure, intended finish and whether the panel will be viewed closely or from across the room.
Choose the board for the room
MDF is suitable for many dry interior walls and gives a consistent machined surface. HDHMR is a more suitable option where humidity is a concern. For a large wall, the backing and fixing method matter as much as the carved face, because they keep joints level and control movement over time.
Match relief depth to the panel thickness
Relief depth is the amount the CNC removes from the starting face. A shallow 3–6 mm relief can create strong shadow lines on a feature wall. Deeper relief needs more starting thickness or a laminated build so sufficient material remains behind the carving. The production drawing should state the face thickness, deepest removal and remaining material.
Plan the panel joints before machining
Large designs are normally divided into practical panel sizes for machining, transport and fixing. The panel joints should follow the pattern or sit on quiet areas so they are less visible. Final widths, heights and the wall elevation help the workshop position those joints correctly.
Let the finish support the carving
A painted finish makes the geometry and shadows read clearly. A stain or clear polish brings out natural grain but also makes material variation more visible. Light from the side of the panel creates the strongest relief shadow; front lighting makes a deep carving look flatter.
Give the workshop a complete brief
For an accurate proposal, share a wall photograph, total width × height, room type, any electrical points, preferred colour or wood tone, and the city for delivery. The workshop can then recommend the face material, backing, relief depth, panel split and installation approach.