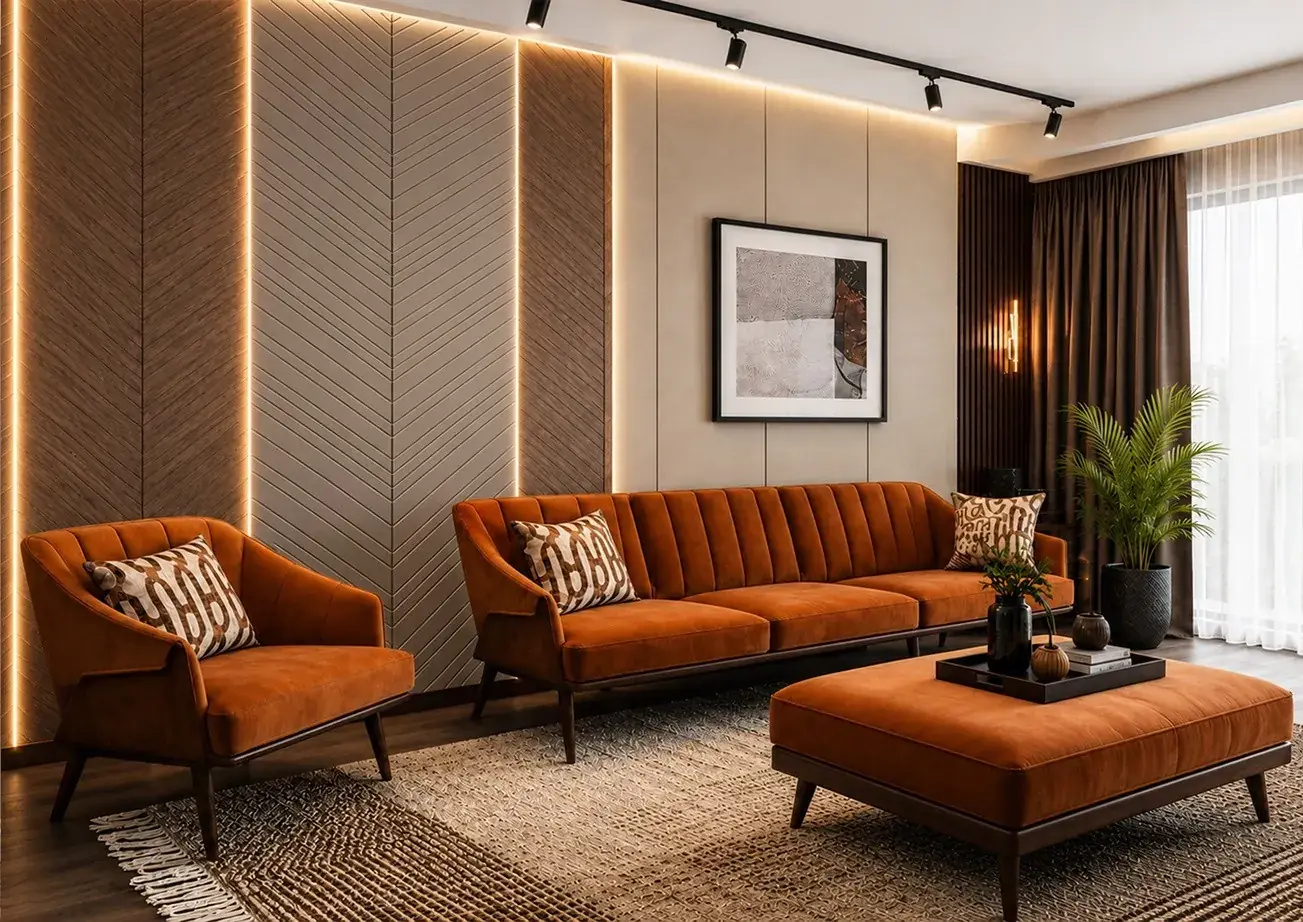
A custom CNC feature wall works best when it is designed as part of the room instead of as a pattern selected in isolation. The same relief can look very different depending on the dimensions, lighting, finish and how the panels meet at their edges.
1. Measure the complete wall
Share the full wall width and height, including doorways, windows, electrical points, television locations and any skirting or ceiling details. This allows the pattern to be scaled and the panel joints to be planned in quieter parts of the design.
2. Choose the right visual direction
A long horizontal design can make a room feel wider, while vertical fluting can add height. Deep floral relief, geometric panels and louvers each create a different character. Reference images and a room photograph make it easier to select a direction that suits the space.
3. Specify the room conditions
Dry interior rooms may suit an MDF-based build, while a more humidity-resistant board can be considered for other protected interior conditions. The wall substrate, access for fixing and expected moisture all influence the final panel construction.
4. Set the relief depth and panel thickness
A shallow pattern can create a refined shadow line; a deeper relief makes a stronger focal wall. The production brief should always state the starting face thickness, deepest CNC removal and the material remaining behind the carving.
5. Plan lighting and finish together
Side lighting shows carved depth more clearly than flat front lighting. Paint, stain, veneer and clear polish all affect how the detail reads. Choosing the finish alongside the pattern prevents surprises after installation.
6. Request an itemised proposal
Send the wall photograph, dimensions, preferred style, colour direction and city. We can then recommend a panel split, material, depth, finish and fixing approach for a made-to-measure CNC wall design.